Replacing a Retaining Wall: Safety, Materials & Process
Is your old retaining wall leaning or rotting? Learn the safety warning signs, best replacement materials, and what to expect during a retaining wall project.
When It’s Time to Replace an Old Retaining Wall
We recently got a call from a homeowner — let’s call her Linda — who had a very familiar concern. She told us her retaining wall had been in since the late 1980s, it was “really high,” and the timbers were starting to rot. She wasn’t sure if it was just an eyesore or an actual safety issue, and she wanted to know if we could come out, take a look, and tell her what it would take to replace it.
We hear some version of Linda’s story all the time. Retaining walls quietly hold back tons of soil year after year, and then one day you notice they’re leaning, cracking, or rotting. From there, the big questions start: Is this dangerous? Can it be repaired, or does it need to be replaced? What are my options, and what will the project actually look like?
In this post, we’ll walk you through the key safety signs to watch for, the most common replacement materials, and what to expect during a retaining wall replacement project based on what we typically explain during onsite estimates.
Safety Red Flags: When a Retaining Wall Becomes a Risk
The first thing we talk about on site is safety. Some cosmetic issues can wait; structural problems should not. Here are the main warning signs we look for when evaluating an older wall like Linda’s:
- Noticeable leaning or bulging – If the wall is tipping forward or bowing out, it may be losing its ability to hold the soil. This is one of the biggest red flags.
- Rotting timbers or crumbling blocks – On older timber walls, soft, spongy, or visibly decayed boards are a sign the structure is weakening. On masonry walls, look for loose, flaking, or broken blocks.
- Large cracks or gaps – Hairline cracks can be normal, but wide, stepped, or quickly growing cracks can indicate movement or pressure behind the wall.
- Leaning posts or shifting anchors – On wood walls, posts that are no longer plumb, or tie-backs that have pulled out, suggest the wall is no longer anchored properly.
- Soil washout or sinkholes – Erosion at the base of the wall, voids behind it, or soil washing through joints can undermine stability.
If your wall is in an area where people walk, play, or park, these issues become even more serious. When we see multiple signs together — for example, a tall wall that’s both leaning and rotting — we typically recommend planning for a full replacement rather than spot repairs.
Choosing Materials for a Replacement Retaining Wall
Once we’ve confirmed that replacement makes sense, the next conversation we have with homeowners is about materials. Many older walls were built with treated timbers. They worked well for decades, but eventually every wood wall loses the battle with moisture and time. Here are the most common options we go over during an estimate:
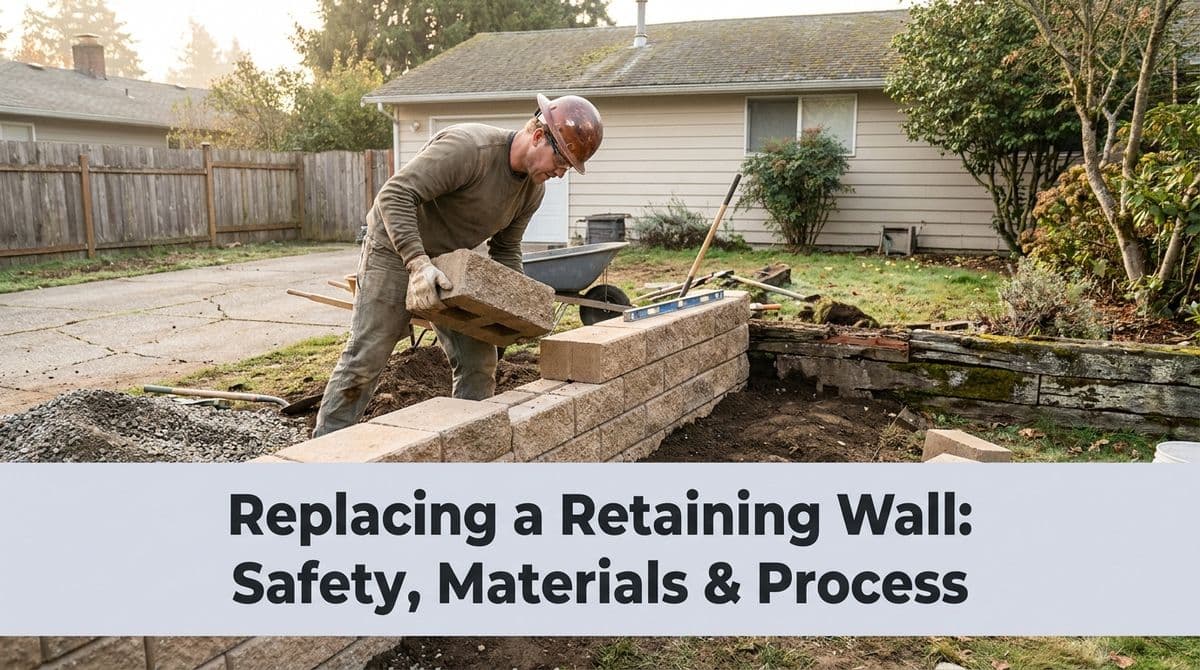
1. Segmental Concrete Block Walls
For many residential projects, we recommend modern interlocking concrete blocks. They’re popular for a reason:
- Durability – Concrete blocks don’t rot and can last decades with proper installation and drainage.
- Modular system – The blocks are engineered to lock together and lean slightly back into the slope, helping resist soil pressure.
- Attractive finishes – They come in various colors, textures, and sizes, so we can match your landscape style.
- Curves and terraces – Great for creating smooth curves or stepped terraces instead of one very tall wall.
2. Poured Concrete or Masonry Walls
In some situations, especially with very high walls or limited space, a poured concrete or reinforced masonry wall may be the right choice. These walls are highly structural and often used in conjunction with an engineer’s design.
They’re stronger than typical block garden walls and usually involve rebar, footings, and sometimes additional reinforcement. We talk through these options when soil conditions or wall height demand a more engineered solution.
3. Modern Timber (With Caveats)
Some homeowners like the natural look of wood. We can still build timber walls using modern treated lumber, but we’re upfront about the pros and cons:
- Pros – Warm, natural appearance and often lower initial cost for shorter walls.
- Cons – Even treated wood eventually deteriorates. Lifespan is typically shorter than concrete-based systems, especially in wet areas.
When a customer really loves the wood look, we often suggest combining a concrete structure with wood accents, so you get the best of both worlds.
What to Expect During a Retaining Wall Replacement
During calls like Linda’s, we always walk through the project process, so there are no surprises. Here’s how a typical replacement unfolds:
1. On-Site Consultation and Estimate
We start by scheduling an on-site visit at a specific day and time, just like we did for Linda. During that visit, we:
- Measure the wall height, length, and slope.
- Check for access for equipment and material delivery.
- Evaluate drainage and soil conditions.
- Discuss material options, budget, and any design changes (like adding terraces or steps).
After the visit, we put together a detailed written estimate and send it by email so you can review everything at your own pace.
2. Permits, Utilities, and Preparation
For tall walls or walls supporting driveways and structures, a permit and sometimes engineering drawings may be required. We’ll let you know what your local rules are and what we can handle on your behalf.
Before any digging, we also arrange to have underground utilities marked. This is critical for safety and required by law in most areas.
3. Demolition and Removal of the Old Wall
On installation day, we carefully remove the old wall. That might involve cutting and hauling out rotted timbers or breaking up and removing old concrete or stone. We also strip out any failing drainage pipe or clogged stone behind the wall.
This phase can look a little messy, but it’s a necessary step to rebuild on a solid, well-prepared base.
4. Building the New Wall and Drainage System
After demolition, we:
- Excavate to the required depth for the new wall base.
- Install a compacted gravel footing and level the first course of blocks or formwork.
- Build the wall in lifts, backfilling and compacting as we go.
- Install proper drainage behind the wall — usually perforated pipe and clean stone — to relieve water pressure.
Proper drainage is one of the most important differences between a wall that lasts a few years and one that lasts for decades.
5. Cleanup and Final Grading
Once the wall is complete, we finish by grading and restoring the surrounding area. That might include new topsoil, seed, or plantings along the wall. We haul away all construction debris so you’re left with a clean, finished project.
Planning Your Own Retaining Wall Replacement
If you’re looking at an older retaining wall that’s starting to rot, lean, or crack, you’re not alone. Many walls from the ’80s and ’90s are reaching the end of their lifespan now.
The best first step is exactly what Linda did: schedule a visit so we can inspect the wall in person, talk through safety concerns, explore material options, and give you a clear picture of cost and timeline. From there, you can plan your replacement before the wall becomes a bigger problem.
When you’re ready to talk about your retaining wall, we’re happy to come out, take a look, and share ideas tailored to your yard and your budget.